How Do I Record My Songs?
Chances are you are an awesome musician who wants to capture their tune. In the old days, studios were the only option to record a song. It was costly and was a pain to edit out a potential mistake in your performance. Nowadays, an average computer in your bedroom is more than a million times faster than NASA’s Apollo 11 guide computers. It’s got all the capability that probably the Beatles would have killed for back in the days. The question is, will you use it to its full potential?
What You Perform on Stage is not What You Record
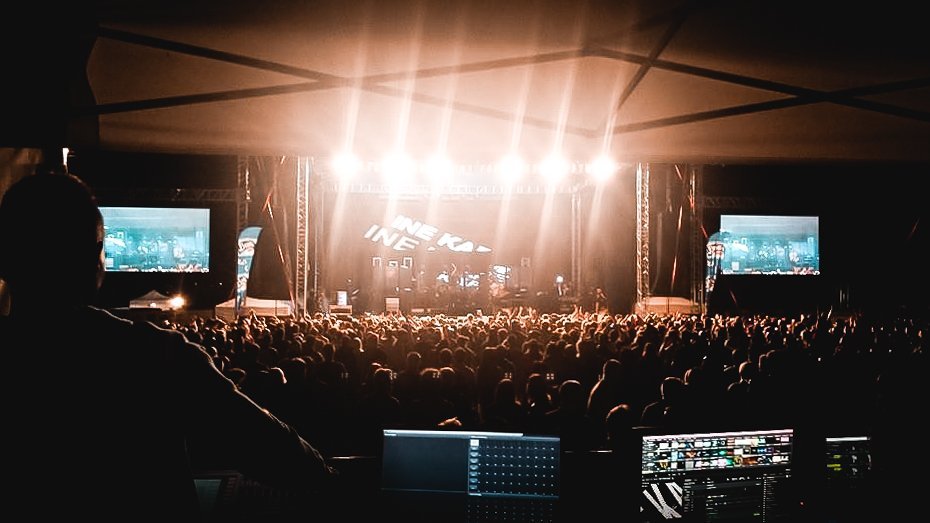
Why is that? Think about it. A live gig has its magic. The audience is in an environment. They hear the song live and can’t rewind. And the music is loud. This is super important!
Live recordings? They exist and they kick ass, true. Although, the best ones sound simple, but believe me, there’s a lot going on in the background: tape saturation, additional overdubs, glue from the audience microphones, mike bleed etc.
Have you heard of the Fletcher-Munson Curve? If not, it simply describes that the louder the music is, the more the bass and treble come out. Oh, there is one more thing:
When you hear a guitar note, it is not just one frequency. The fundamental frequency is the loudest, true, but there are other harmonic frequencies around generated by the materials and shape of the instrument. The given frequencies and their loudness distinguishes a guitar tone from a piano.
The louder the music, these harmonics are also louder – and more audible to us. So, at the end of the day, we get a super full sound from only a few instruments on stage. In the studio, for smaller speakers and lower listening volumes, we have a real challenge to achieve this same ‘fullness’.
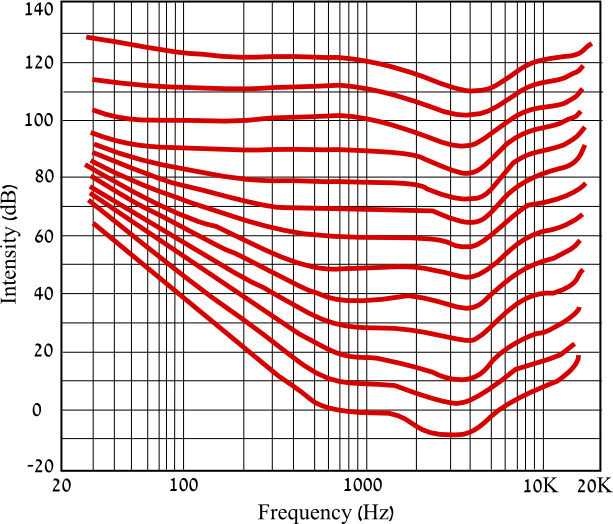
Figure 1: The Fletcher-Munson Curve. Describes the sensitivity of the human ear for the 20-20kHz frequency range. For example: if 1000 Hz is at 0 db, 100Hz has to be 40dB louder for us to hear it with the same volume. The louder 1000 Hz is, the less difference in dB we need to have to mach the perceived loudness for 100 Hz. (Source: Wikipedia)
So I’ve written a song… What’s next?
Luckily, technology is our friend and we now we have pre-defined techniques that we can follow for great results. No need to reinvent the wheel here.
When you’ve got a song you have 2 options:
- Go to a studio
- Record the song yourself
The Studio
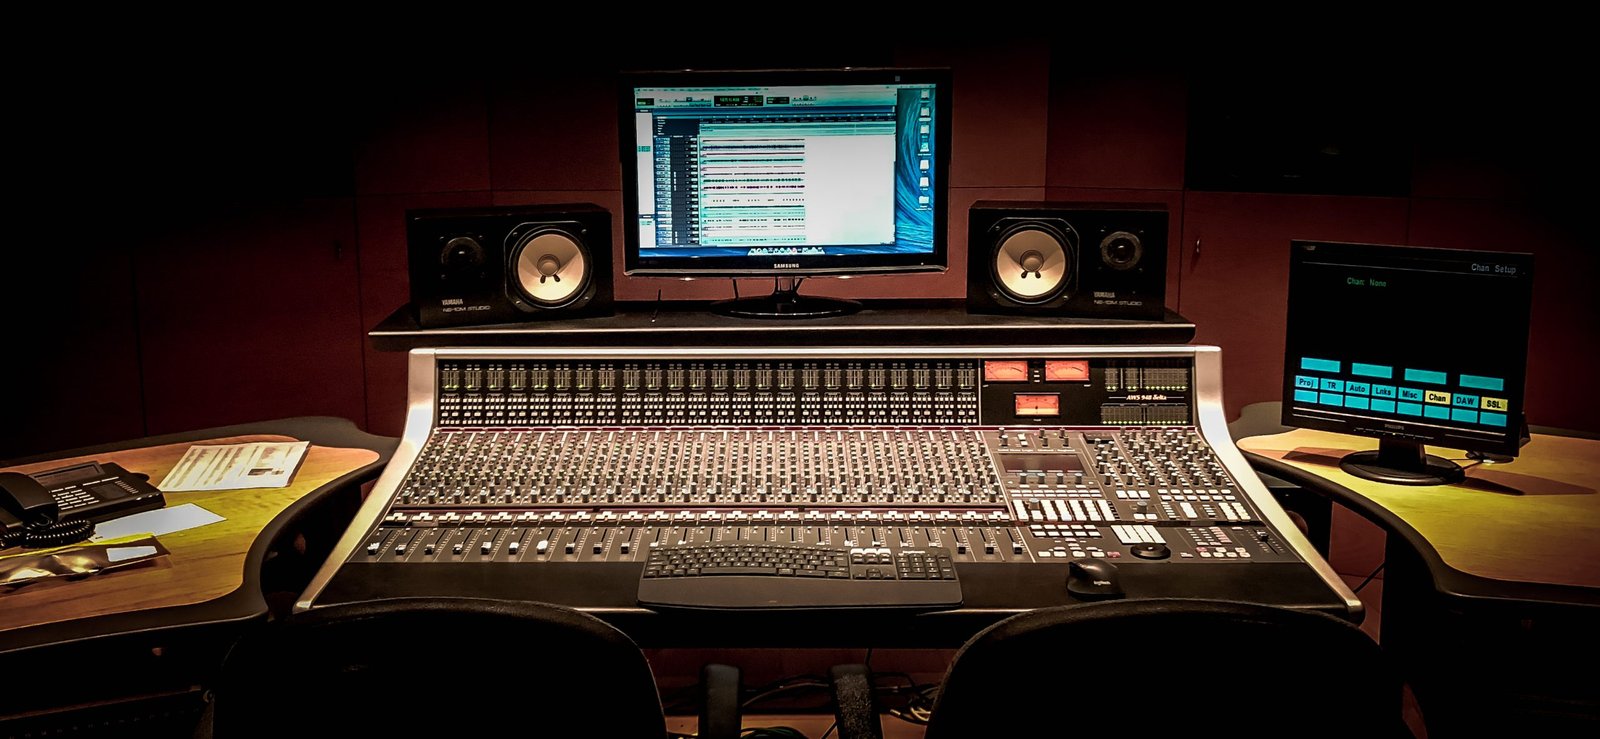
It is generally accepted between audio people that studios are there for a reason. It is the environment you go to where everything is prepared and all you focus on is your music.
Furthermore, studios have all the gear you need to record, vintage mic pre-amplifiers, microphones and so on. But it will cost you. Most likely by the hour, so it is important to note, it is not the place to experiment.
Home Recording
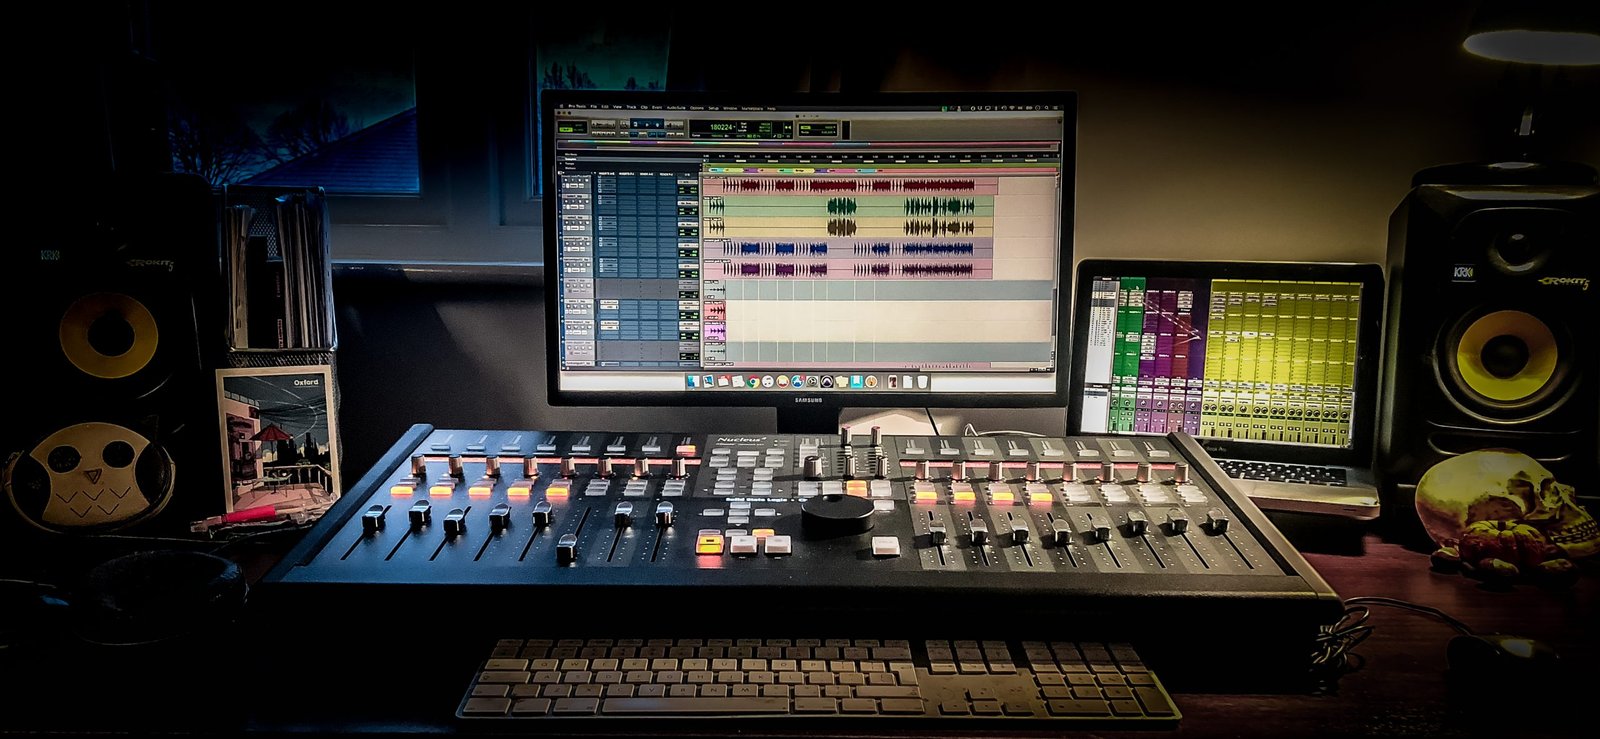
Okay, it is straightforward that the ‘sonic’ quality of the record might be higher at the studio. Although, there is one very important factor we need to consider: the quality of the song itself. At the studio you have to be ready to nail the take.
What do you think, what is a bad performance worth recorded in super hi quality?
I am sure we all have that much adored song that is not the best recorded demo, but nevertheless, a fantastic song. We still listen to it because the song itself is so good!
Now, music business is tough these days. For some musicians it is not an option to spend hundreds of dollars for a song. You have another option: get an interface, figure out how to bring out the most from your environment, and record, record, record until you have a killer take and arrangement. And hey, you’ve got a place to experiment.
What do I need to record myself?
The Audio interface is the heart of the home studio. But essentially you need 4 key gears:
- A Computer
- Digital Audio Workstation (a computer program that records the tracks)
- Interface
- Microphone or your instrument
There are of course other accessories such as cables and headphones. Recording is a messy task but the key is to figure out your routine, create templates and get some practice.
The Interface
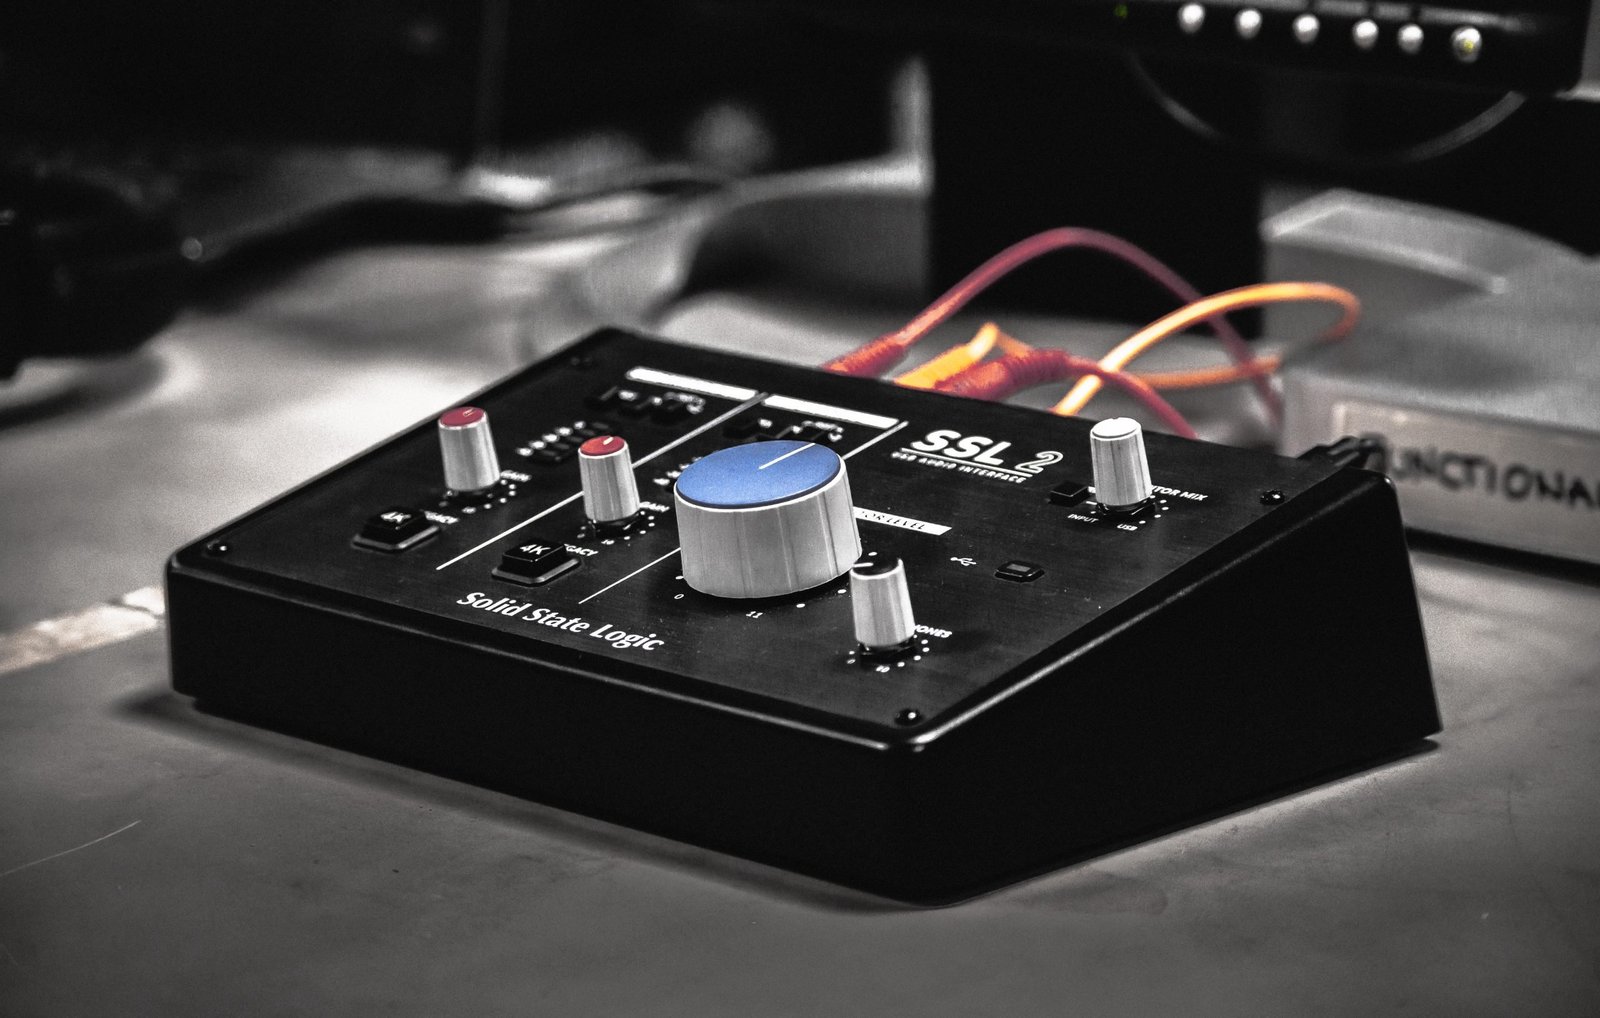
It is a piece of gear on your desktop that is connected to your computer. You plug the mic or instrument to the interface.
The interface in the picture above is from Solid State Logic. SSL is the equivalent to a Ferrari in the audio industry and I recommend their SSL 2 or SSL 2+ interface 100%. Maybe I am a bit biased but I know for a fact that it is one of the best sounding and very affordable little piece of unit that will give the sound you are looking for.
For a bit of insight and some detailed description check out this link that will lead you to the official SSL website: click here.
Digital Audio Workstation (DAW)
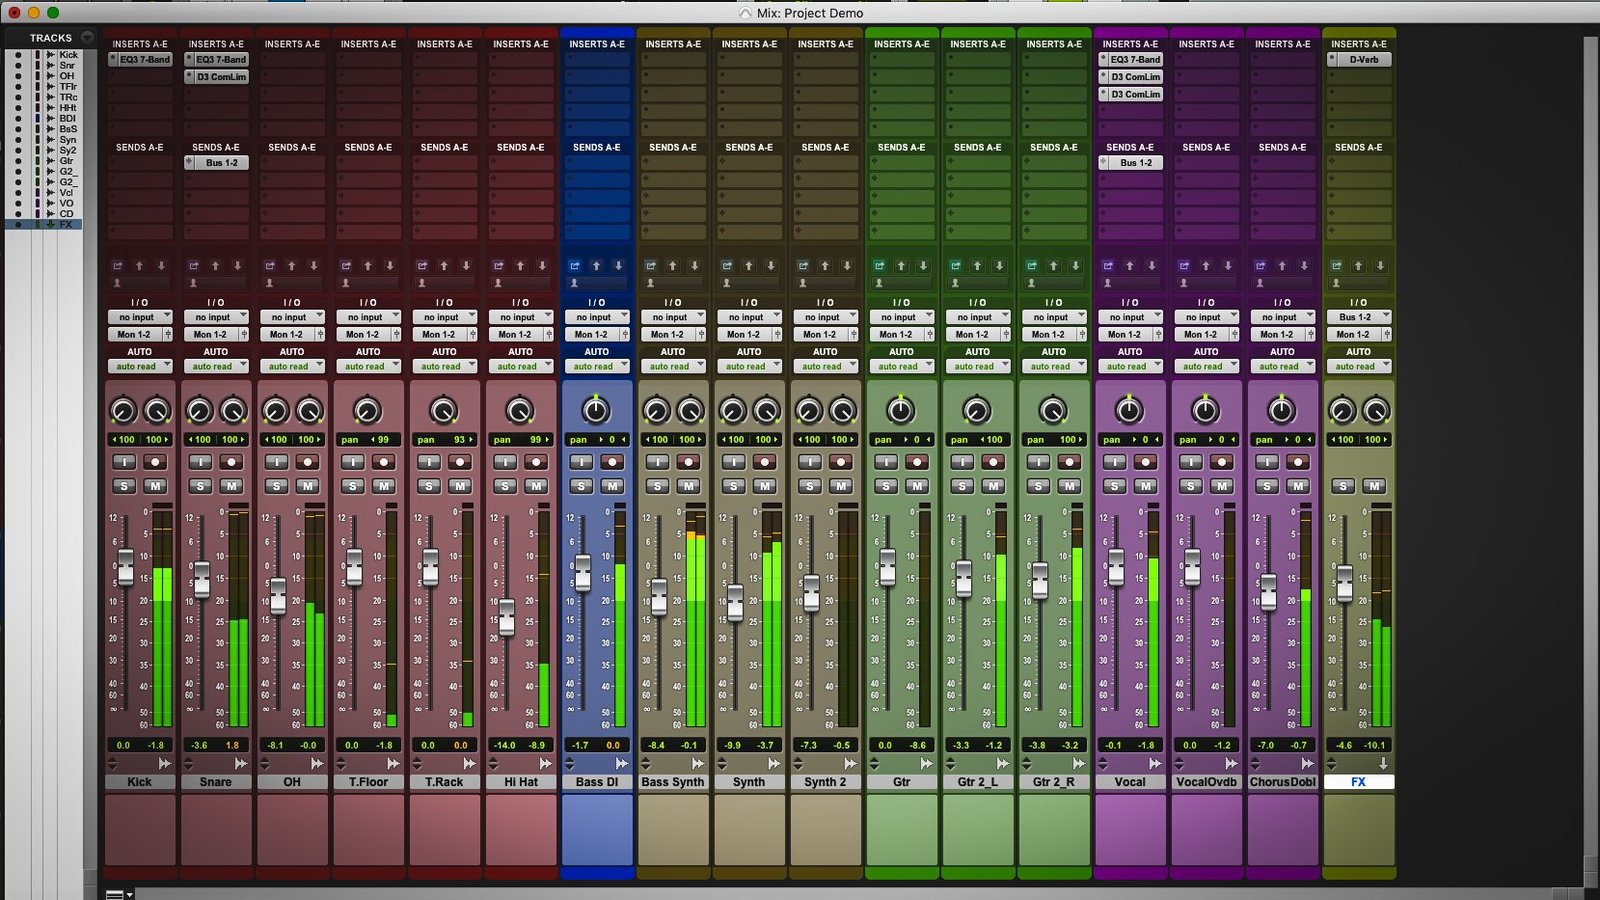
A DAW is a piece software that you use to record your songs to your computer. You will select your interface in the DAW and it will read the mix/instrument signal coming from there. There are many DAWs out there. Here is a list of my top 5 favourites:
- Pro Tools
- Logic Pro (Mac only)
- Ableton
- Cubase
- Garageband (Mac only)
My choice of DAW as a mixing engineer is Pro Tools. It is kind of the industry standard for live instrument recordings. Most likely, if you are not recording a whole band and do crazy edits, you won’t need to purchase a subscription.
Pro Tools First is a free version of Pro Tools that I recommend. Especially if you are new to recording, this is a great platform to experiment on. Keep in mind, as of being a free platform there are some limitation like 16 tracks only (stereo counts as 1 track). Although, if you are creative, you can figure out some workarounds. Like digitally bouncing multiple tracks to a new track as stems.
There are many tutorials online how to get started with a DAW. Check them out if you need to and start recording!
The Next Steps
Once you have your song recorded in the DAW, make sure the silence and pops are cut out from the tracks. All you have to do next is to ‘sum’ the tracks to a single stereo file.
If making mixing decisions is not your cup of tea, you can send your files over to external services who mix the song for you at a professional level.
For this, you will need to export the tracks separately. Some companies will require the multitrack in specific ways. We at Rusty Rooster accept the whole session. So, no need to export, we’ll have a look, see if there is something you should fix, if not, we’ve got it from there.
Shoot us a mail if you have a question here.
If you need to export the individual tracks, I’ve put together some useful instructions how: How To Export Audio Tracks From DAW.