What Happens at Mixing
Audio Mixing is the process where multiple recorded audio tracks are combined into a single stereo audio file. This file is than transferable to your phone or media devices and played back as regular audio.
With today’s technology, this process can be easily done by anyone and might I say with good quality too. However, an extra bit of magic is required to achieve that ‘polished’, professional sound where all instruments seem to perfectly compliment each other.
In this article we’ll have a look at how audio engineers approach a ‘multitrack‘ after they get their hands on them.
3 Stages of Audio Production
A good way to understand the process is if we broke down music making into these 3 steps:
- Recording
- Mixing
- Mastering
Now, for best results, it is suggested that each stage is carried out by a different person. Why? At each stage it is best to hear the song with fresh ears and be in the ‘blind’ about what happened in the previous stage.
The Difference Between Mixing and Mastering
While the process of recording might be straight forward, many people confuse Mixing with Mastering.
Mixing is the stage when you create a stereo track from multiple, individual audio files.
Mastering is the sonic manipulation of the stereo file created in the mixing stage.
Mastering is the last stage of the audio production chain, where the song is given its final shape before it is being released. Mastering engineers compare their work to already released successful songs as a reference.
In the mastering process, engineers adjust the frequency range as well as add slight compression so all elements are glued together even more.
The Mixing Stage
These days the Mixing Engineer receives the multitrack over the Internet. More often than not, the artist sends a demo that gives an rough idea how they picture the song.
After importing the files to their chosen DAW, they have an initial listen with all faders being at 0dB. This is where the Engineer creates an initial sound in their head and pinpoints the best parts to highlight in the mix.
– The Rough Mix
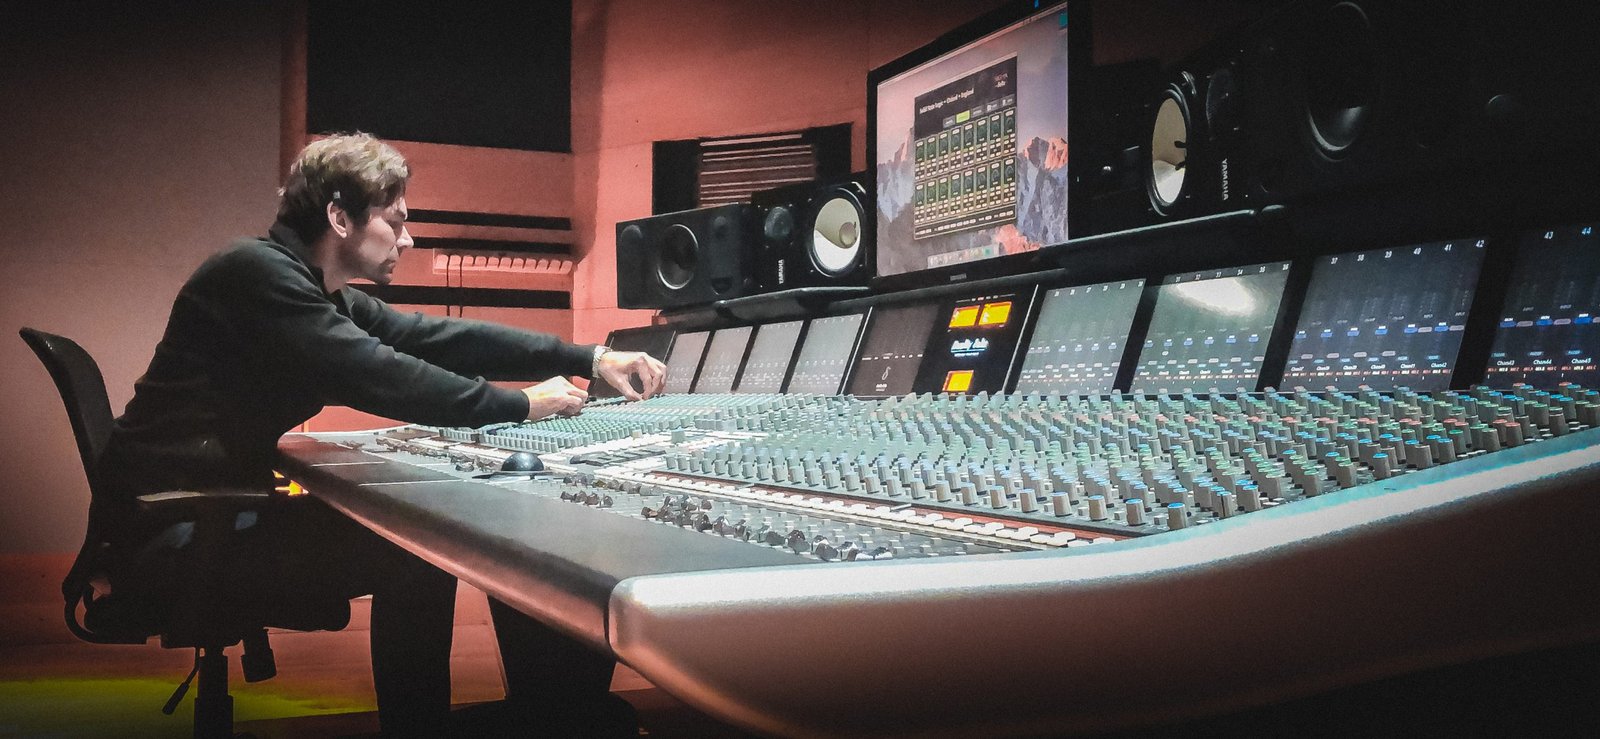
If the tracks are well recorded, all channels set to 0dB should give a good starting balance. It is essential not to fall into the mistake of ‘over-listening’ so the Mixing Engineer quickly creates a so called ‘Rough Mix‘. This will help him/her to determine the key parts of the song and have an overall picture and plan.
Since our clients here at Rusty Rooster Sound come from a variety of backgrounds, we don’t expect the home recording musician to have the production skills of Rick Rubin. At this stage we make notes and if we feel something could be improved or an additional track would make a difference, we contact the client with our recommendations.
– Editing
This is one of the most important stages. The Engineer cuts out clicks and pops, align tracks and makes sure all different parts of a track transitions well.
Even the pro musicians have their drums or some guitar parts time aligned. This improves the overall precision of the song greatly yet leaves the natural playing of the musician intact.
– The pre-Mix
Many great Engineers mix completely in the ‘box’ these days. And this is completely okay. I mean Andrew Scheps mixes on a computer, and he’s the one who makes the Red Hot Chili Peppers records!
The ‘sound’ of the song comes from the recording process where expensive mics, pre-amps and other gear is used to develop the flavour. Once this ‘sound’ is captured, the computer is a perfect environment to do some further tweaks.
The above procedure is usually done in studios. There are of course cases when musicians have some precious gear at home, but in general, when we record at home with an interface, this is not exactly what we do. There are no magic equipment. Therefore, we’ve come up with a pre-mix stage, where we ‘correct’ the individual tracks to somewhat simulate what the vintage gear would add.
The interface does a wonderful job to capture a clean audio. We can work with it after it has been recorded to introduce some character:
- Cutting the unwanted frequencies,
- Applying gentle compression,
- Adding saturation to give a track more oomph,
- Enhance with analogue simulation plugins.
– The Mix
At this stage we have a mix that when ‘play’ is hit, it already sounds awesome. The song is now corrected by EQ, slight compression and saturation. It is time to ‘merge’ those instruments together.
Let’s cover some of the steps we as audio guys use:
Mixing Steps
Master Bus Processing
In addition to all the instruments in the DAW, we add a Master Fader that controls the overall sound and loudness. All the individual tracks feed into this Master Bus (Master Fader). Whatever processes we do on this will affect all channels.
Mainly 3 type of processes are used on the Master Bus: compressor, EQ and saturation. We do this when we have a general idea how we want our song to sound like. Example: we boost a bit of bottom and top to get that Hi-Fi sound. It is easier to do it on the Master Fader than on all individual tracks.
The compressor helps in blending the instruments together. The old and big analogue consoles had a built in Master Bus Compressor. The most legendary of them all is the SSL Bus Comp.
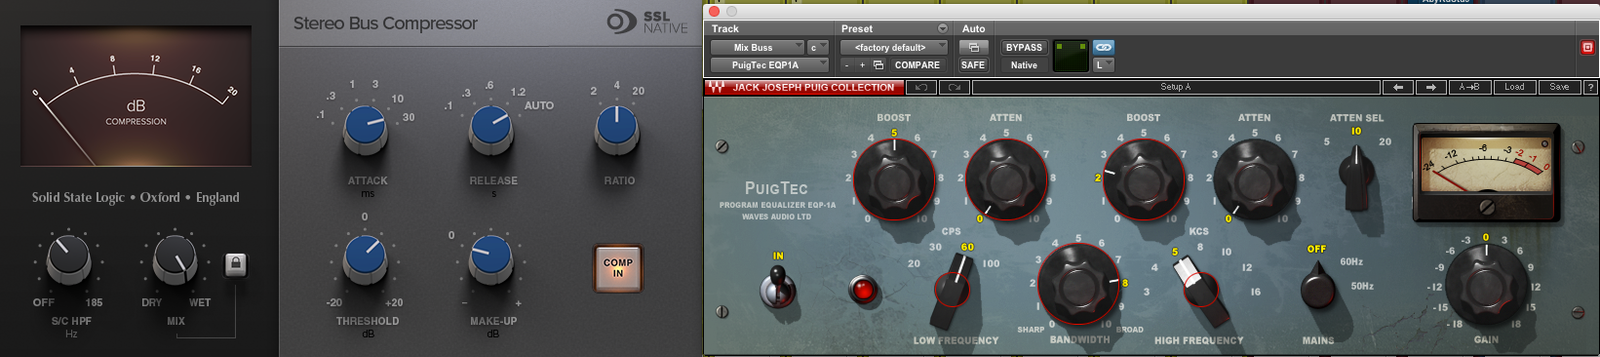
Figure: SSL Bus Comp on left and PuigTec EQ on the right to give a little low end and high end sparkle to the whole mix.
Drum Replacement
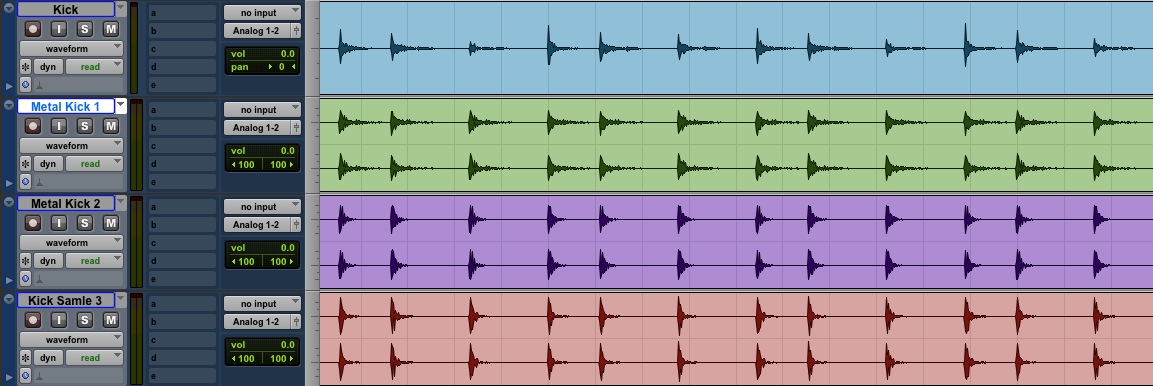
Drum replacement or more like ‘addition’. We do this usually on the Kick and Snare drums. Picture it this way: There is the original Kick track, and next to it we create 2-3 more tracks that will mimic the original Kick just with a ‘sampled sound’ playing.
This is done because the samples are very well recorded individually. So there is no bleed from the Snare in the Kick mic for example. For a perfect Kick sound we sum both the original and the sample tracks together. The playing stays original yet the samples give an extra clarity and punch to the overall kick sound.
Vocal Treatment
Now this is a tough one. Vocals tend to be very dynamic and it is a real challenge to make them sit on top of the mix all the time. Therefore, we have a few tricks under the sleeve.
When a vocal is too dynamic, it means some parts are too quiet and some are just too loud. There are 2 things that can tame a dynamic vocal: compression and harmonic saturation.
Adding Saturation to reduce peaks
In professional studios, vocals are recorded using pre-amps with slightly cranked up gain setting to add a bit of saturation.
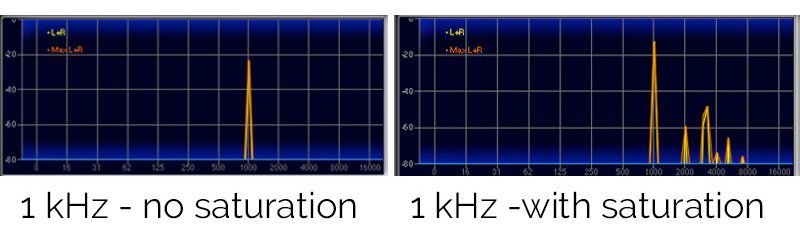
Saturation is a mathematical phenomenon where other frequencies are generated from ‘too loud’ frequencies. Essentially, these loud notes are overdriving the circuitry which results in not only reducing the loudness of the note, but in the creation of additional harmonics. These newly created frequencies are musically related to the ‘fundamental’ frequency. So, they sound good.
Fore example: the fundamental frequency is 1kHz and the saturation adds 2kHz, 4kHz, 8kHz etc. This is true for all other frequencies that cross this ‘threshold’ of loudness. So, what we end up with is reduced peaks and more frequencies.
Manual Vocal Volume Automation
At this stage we have a recorded vocal track in the computer. Our aim is to achieve a nice balance between loud and quiet parts. So, to hear the breath yet at a more forceful section we don’t need to turn down the volume.
What we do is go section by section and manually adjust each bit of the vocal to have a sensible volume.

Compression to further reduce peaks
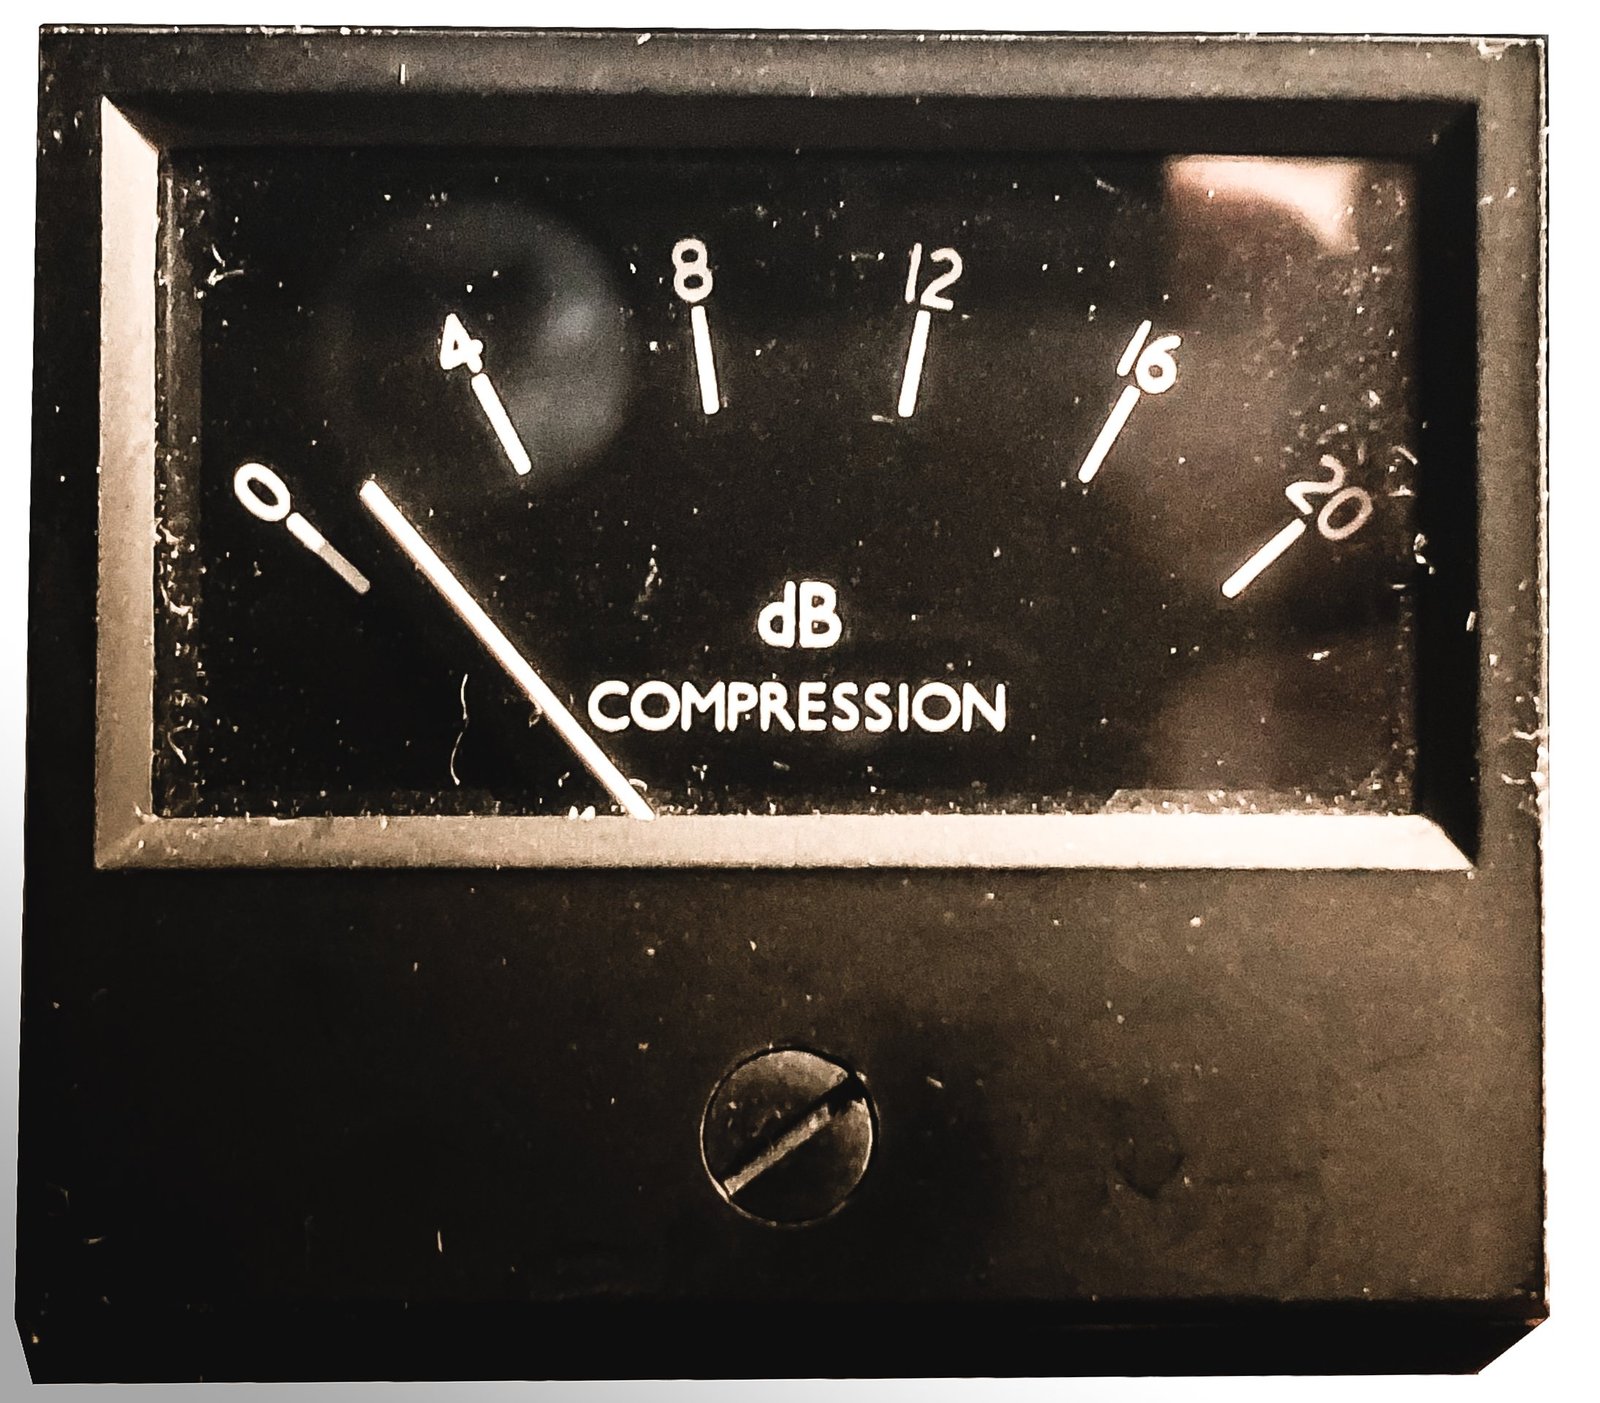
Compression is also a way of taming louder parts. We are not adding much saturation here. A compressor is a piece of gear that if set up correctly, automatically will reduce the volume at louder notes. It’s aim is to have the quiet and loud bits of the vocal closer to each other in level. Think of a film when it gets so loud at an action scene.
High Frequency EQ Boost + De-Essing
It is very common to have the ‘s’ -es sounding piercing when playing back a track. Cutting the top end makes it dull. High frequencies are very important when it comes to vocals as they give the intelligibility. So, we don’t want to solve this by cutting high frequencies with an EQ.
There is a trick: we find the harsh frequency first. Next, apply a high frequency boost so that harsh frequency becomes most dominant in the vocal. After this, add a De-Esser, which is essentially a compressor focusing on one frequency: which is the most dominant.
Distortion on Bass Guitar
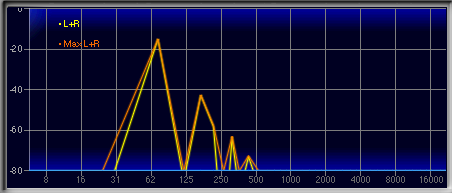
Some systems are not capable to reproduce low frequencies. How do you make sure the bass guitar is there on a laptop speaker?
The trick is to add distortion. What it does, is add harmonics to these frequencies that can’t be reproduced on smaller speakers. These harmonics will kind of mimic that fundamental frequency which is not even there in a laptop speaker.
What’s Next
The above was just a quick insight to show you roughly what we do when we open a session to mix. Once we are done, the mix goes to Ross, our Mastering Engineer to polish the tracks and give it a final analogue magic and oomph.
So, are you planning to give it a go and record some of your tracks? Or do you already have a song that is waiting to be mixed? Get in touch with us and let’s see whether we can work together.